
Page 116 - luminar 2018 - user manual pc v 2_3.pages
P. 116
5. Create a Layer mask on the adjustment layer by clicking the Edit Mask button.
6. Choose Brush from the pop-up list.
You now have two options to decide how the initial mask is created.
• Paint. Clicking with the Paint tool fills the mask with black (hiding all of its results). As
you paint and add strokes they are added in white. This method allows you to brush and
add the results of the Adjustment layer selectively.
• Erase. Clicking with the Erase tool fills the mask with white (showing all of its results). As
you paint and add strokes they are added in black. This method allows you to brush and
subtract the results of the Adjustment layer selectively. The erased areas will show
through to the image below.
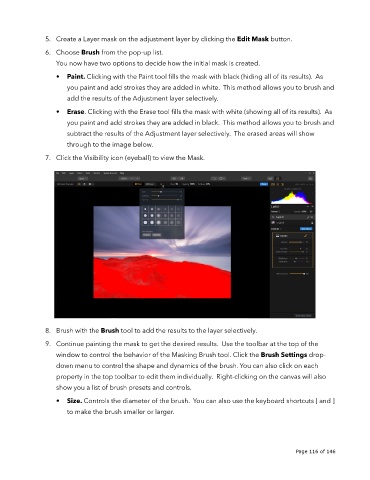
7. Click the Visibility icon (eyeball) to view the Mask.
8. Brush with the Brush tool to add the results to the layer selectively.
9. Continue painting the mask to get the desired results. Use the toolbar at the top of the
window to control the behavior of the Masking Brush tool. Click the Brush Settings drop-
down menu to control the shape and dynamics of the brush. You can also click on each
property in the top toolbar to edit them individually. Right-clicking on the canvas will also
show you a list of brush presets and controls.
• Size. Controls the diameter of the brush. You can also use the keyboard shortcuts [ and ]
to make the brush smaller or larger.
!
!
Page 116 of 146