
Page 39 - Act! Marketing Automation User Guide
P. 39
Act! Marketing Automation Training Guide Landing Pages
In our example we want to add a Single Textbox for Full Name as per the screenshot
above. pay particular attention to the Map to Act! field section. Once we have completed
the fields, click the Actions menu in the top right corner and choose Save & Return.
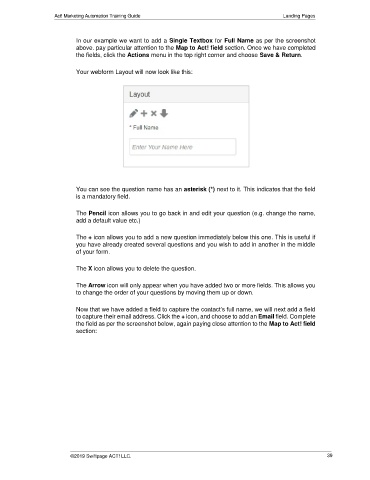
Your webform Layout will now look like this:
You can see the question name has an asterisk (*) next to it. This indicates that the field
is a mandatory field.
The Pencil icon allows you to go back in and edit your question (e.g. change the name,
add a default value etc.)
The + icon allows you to add a new question immediately below this one. This is useful if
you have already created several questions and you wish to add in another in the middle
of your form.
The X icon allows you to delete the question.
The Arrow icon will only appear when you have added two or more fields. This allows you
to change the order of your questions by moving them up or down.
Now that we have added a field to capture the contact’s full name, we will next add a field
to capture their email address. Click the + icon, and choose to add an Email field. Complete
the field as per the screenshot below, again paying close attention to the Map to Act! field
section:
©2019 Swiftpage ACT! LLC. 39