
Page 377 - Installation Training Binder FIT1-3
P. 377
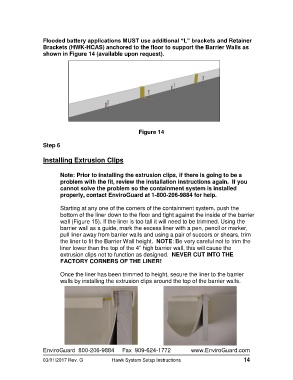
Flooded battery applications MUST use additional “L” brackets and Retainer
                   Brackets (HWK-HCAS) anchored to the floor to support the Barrier Walls as
                   shown in Figure 14 (available upon request).


                                                                               Figure 14

                   Step 6

                   Installing Extrusion Clips

                          Note: Prior to installing the extrusion clips, if there is going to be a
                          problem with the fit, review the installation instructions again.  If you
                          cannot solve the problem so the containment system is installed
                          properly, contact EnviroGuard at 1-800-206-9884 for help.

                          Starting at any one of the corners of the containment system, push the
                          bottom of the liner down to the floor and tight against the inside of the barrier
                          wall (Figure 15). If the liner is too tall it will need to be trimmed. Using the
                          barrier wall as a guide, mark the excess liner with a pen, pencil or marker,
                          pull liner away from barrier walls and using a pair of succors or shears, trim
                          the liner to fit the Barrier Wall height.  NOTE: Be very careful not to trim the
                          liner lower than the top of the 4” high barrier wall, this will cause the
                          extrusion clips not to function as designed.  NEVER CUT INTO THE
                          FACTORY CORNERS OF THE LINER!

                          Once the liner has been trimmed to height, secure the liner to the barrier
                          walls by installing the extrusion clips around the top of the barrier walls.


                   EnviroGuard  800-206-9884     Fax  909-624-1772               www.EnviroGuard.com

                   03/01/2017 Rev. G            Hawk System Setup Instructions                         14