Page 307 - 00. Complete Version - Progress Report IPEN 2014-2016
P. 307
Materials and Nanotechnology | Progress Report  307


               joints were made through welding by using      crucial for the performance of an implant. Den-
               the GTAW process at the root and the SMAW      tal implants are a class in itself due to its size,
               process in the subsequent welding layers. The   chemical and biological environment. This
               welded joints were subjected to PWHT with      paper presents a study on the electric signals
               different tempering times (1h, 4h e 8h) and    from a strain gage used in a custom-made lab-
               their mechanical properties were evaluated by   oratory micro torque meter specially developed
               performing conventional tensile, elevated-tem-  to evaluate the influence of the bone-implant
               perature tensile (540ºC), Charpy V-notch im-   and implant-abutment screwed interfaces on
               pact toughness, Vickers hardness testing and   the micro torque signals. The original electric
               microstructural characterization (Figure 28).   signals were acquired via National Instru-
               Results indicated that mechanical properties of   ments (NI) hardware and real time processed
               Grade 91 steel change with increasing temper-  with the Labview® software for the evaluation
               ing time, and a better combination of strength   of noise and its relation to the physical val-
               and toughness can be reached with more than    ues of interest and equipment precision (Fig-
               4 hours of PWHT, under certain conditions.     ure 29). The results indicate the need of care-
                                                              ful attention to the noise pickup, noise source
               Study of the strain gage signals for           controls and mechanical amplification of the
               the control of a micro torque meter            original signal in order to obtain higher accu-
                                                              racy of the equipment and automated control
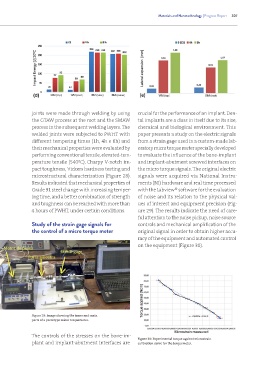
                                                              on the equipment (Figure 30).


               Figure 29: Image showing the inner and main
               parts of a prototype micro torquemeter.


               The controls of the stresses on the bone-im-
                                                              Figure 30: Experimental torque against microstrain
               plant and implant-abutment interfaces are      calibration curve for the torquemeter.

