
Page 1195 - Chief Architect Reference Manual
P. 1195
Chief Architect X10 Reference Manual
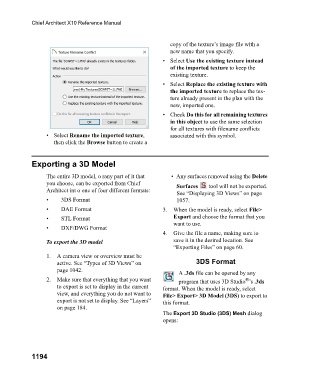
copy of the texture’s image file with a
new name that you specify.
• Select Use the existing texture instead
of the imported texture to keep the
existing texture.
• Select Replace the existing texture with
the imported texture to replace the tex-
ture already present in the plan with the
new, imported one.
• Check Do this for all remaining textures
in this object to use the same selection
for all textures with filename conflicts
• Select Rename the imported texture, associated with this symbol.
then click the Browse button to create a
Exporting a 3D Model
The entire 3D model, o rany part of it that • Any surfaces removed using the Delete
you choose, can be exported from Chief Surfaces tool will not be exported.
Architect int o one of four different formats:
See “Displaying 3D Views” on page
• 3DS Format 1057.
• DAE Format 3. When the model is ready, select File>
• STL Format Export and choose the format that you
want to use.
• DXF/DWG Format
4. Give the file a name, making sure to
To export the 3D model save it in the desired location. See
“Exporting Files” on page 60.
1. A camera view or overview must be
active. See “Types of 3D Views” on 3DS Format
page 1042.
A .3ds file can be opened by any
2. Make sure that everything that you want program that uses 3D Studio ’s .3ds
®
to export is set to display in the current format. When the model is ready, select
view, and everything you do not want to File> Export> 3D Model (3DS) to export to
export is not set to display. See “Layers” this format.
on page 184.
The Export 3D Studio (3DS) Mesh dialog
opens:
1194