Page 63 - 3D World - October 2017
P. 63
TuTorials
                                                                                                       Master destruction effects


               CoLLISIoN GEoMEtrY                             EXPort tHE CACHE
          12 Bring the volume into your DOP network: you can  13Once Houdini has calculated the simulation, you need to export the
          see how to do so at 01:03:10. In the Parameter Editor,   geometry cache it generates back to Maya as an Alembic file. To do this, use
          make sure that Use Deforming Geometry is checked. The   an Alembic ROP output driver geometry node, as shown at 01:04:10. The
          Collisions tab lets you tweak the collision settings: you   default settings won’t be good enough, so in the Parameter Editor, set the
          can see the ones I used in the video. Check the Collision   Partition Mode drop-down to Use Shape Component Of Path Attribute Value.
          Guide option to display the final shape of the object that   In the Partition Attribute field, give it an appropriate name. In the Face Sets
          will be interacting with the wall geometry in the viewport.  drop-down, select No Face Sets. This ensures your UVs are preserved.


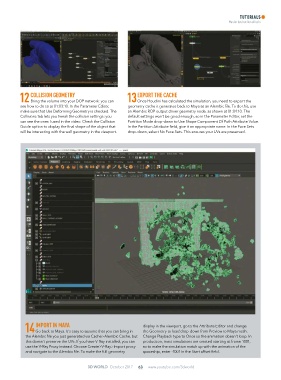
                 IMPort IN MAYA                                  display in the viewport, go to the Attribute Editor and change
            14 Go back to Maya. It’s easy to assume that you can bring in   the Geometry to load drop-down from Preview to Maya mesh.
            the Alembic file you just generated via Cache>Alembic Cache, but   Change Playback type to Once so the animation doesn’t loop. In
            this doesn’t preserve the UVs. If you have V-Ray installed, you can   production, most simulations are created starting at frame 1001,
            use the V-Ray Proxy instead. Choose Create>V-Ray>Import proxy   so to make the simulation match up with the animation of the
            and navigate to the Alembic file. To make the full geometry   spaceship, enter -1001 in the Start offset field.


                                        3D WorlD  October 2017  63   www.youtube.com/3dworld

