
Page 201 - Divyank Tyagi
P. 201
|
enabling Worksharing on Your ProjeCT 167
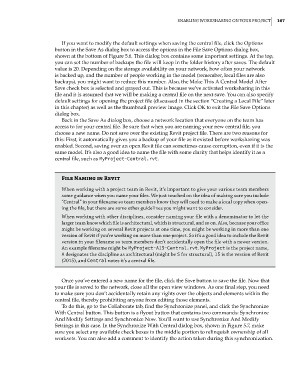
If you want to modify the default settings when saving the central file, click the Options
button in the Save As dialog box to access the options in the File Save Options dialog box,
shown at the bottom of Figure 5.6. This dialog box contains some important settings. At the top,
you can set the number of backups the file will keep in the folder history after saves. The default
value is 20. Depending on the storage availability on your network, how often your network
is backed up, and the number of people working in the model (remember, local files are also
backups), you might want to reduce this number. Also, the Make This A Central Model After
Save check box is selected and grayed out. This is because we’ve activated worksharing in this
file and it is assumed that we will be making a central file on the next save. You can also specify
default settings for opening the project file (discussed in the section “Creating a Local File” later
in this chapter) as well as the thumbnail preview image. Click OK to exit the File Save Options
dialog box.
Back in the Save As dialog box, choose a network location that everyone on the team has
access to for your central file. Be sure that when you are naming your new central file, you
choose a new name. Do not save over the existing Revit project file. There are two reasons for
this: First, it automatically gives you a backup of your file as it existed before worksharing was
enabled. Second, saving over an open Revit file can sometimes cause corruption, even if it is the
same model. It’s also a good idea to name the file with some clarity that helps identify it as a
central file, such as MyProject-Central.rvt.
File Naming in revit
When working with a project team in revit, it’s important to give your various team members
some guidance when you name your files. We just touched on the idea of making sure you include
“Central” in your filename so team members know they will need to make a local copy when open-
ing the file, but there are some other guidelines you might want to consider.
When working with other disciplines, consider naming your file with a denominator to let the
larger team know which file is architectural, which is structural, and so on. also, because your office
might be working on several revit projects at one time, you might be working in more than one
version of revit if you’re working on more than one project. so it’s a good idea to include the revit
version in your filename so team members don’t accidentally open the file with a newer version.
an example filename might be MyProject-A15-Central.rvt. MyProject is the project name,
A designates the discipline as architectural (might be S for structural), 15 is the version of revit
(2015), and Central notes it’s a central file.
Once you’ve entered a new name for the file, click the Save button to save the file. Now that
your file is saved to the network, close all the open view windows. As one final step, you need
to make sure you don’t accidentally retain any rights over the objects and elements within the
central file, thereby prohibiting anyone from editing those elements.
To do this, go to the Collaborate tab, find the Synchronize panel, and click the Synchronize
With Central button. This button is a flyout button that contains two commands: Synchronize
And Modify Settings and Synchronize Now. You’ll want to use Synchronize And Modify
Settings in this case. In the Synchronize With Central dialog box, shown in Figure 5.7, make
sure you select any available check boxes in the middle portion to relinquish ownership of all
worksets. You can also add a comment to identify the action taken during this synchronization.
c05.indd 167 05-05-2014 16:44:29