
Page 777 - Divyank Tyagi
P. 777
|
laYing out sheets 743
shorten the view title. Press the Esc key or click the Modify button in the ribbon to deselect the
viewport.
Now select the view title itself—not the viewport—and then click and drag the title closer to
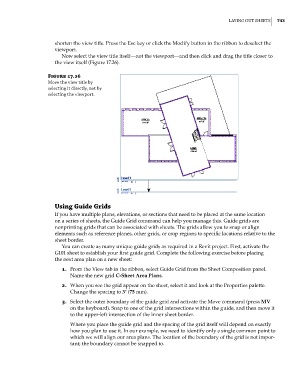
the view itself (Figure 17.26).
Figure 17.26
move the view title by
selecting it directly, not by
selecting the viewport.
Using Guide Grids
If you have multiple plans, elevations, or sections that need to be placed at the same location
on a series of sheets, the Guide Grid command can help you manage this. Guide grids are
nonprinting grids that can be associated with sheets. The grids allow you to snap or align
elements such as reference planes, other grids, or crop regions to specific locations relative to the
sheet border.
You can create as many unique guide grids as required in a Revit project. First, activate the
G101 sheet to establish your first guide grid. Complete the following exercise before placing
the next area plan on a new sheet:
1. From the View tab in the ribbon, select Guide Grid from the Sheet Composition panel.
Name the new grid C-Sheet Area Plans.
2. When you see the grid appear on the sheet, select it and look at the Properties palette.
Change the spacing to 3ʺ (75 mm).
3. Select the outer boundary of the guide grid and activate the Move command (press MV
on the keyboard). Snap to one of the grid intersections within the guide, and then move it
to the upper-left intersection of the inner sheet border.
Where you place the guide grid and the spacing of the grid itself will depend on exactly
how you plan to use it. In our example, we need to identify only a single common point to
which we will align our area plans. The location of the boundary of the grid is not impor-
tant; the boundary cannot be snapped to.
c17.indd 743 5/3/2014 11:46:30 AM