Page 858 - Divyank Tyagi
P. 858
824   |  ChaPter  20  Presenting Your Design


                             There is an almost endless list of the types of color fills you can create to help communicate
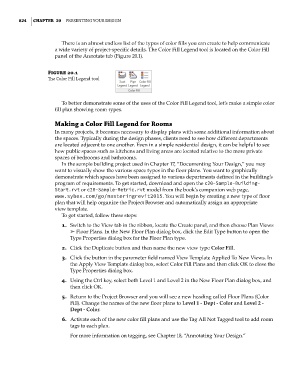
                           a wide variety of project-specific details. The Color Fill Legend tool is located on the Color Fill
                           panel of the Annotate tab (Figure 20.1).


                        Figure 20.1
                        The Color Fill Legend tool


                             To better demonstrate some of the uses of the Color Fill Legend tool, let’s make a simple color
                           fill plan showing room types.

                           Making a Color Fill Legend for rooms
                           In many projects, it becomes necessary to display plans with some additional information about
                           the spaces. Typically during the design phases, clients need to see how different departments
                           are located adjacent to one another. Even in a simple residential design, it can be helpful to see
                           how public spaces such as kitchens and living areas are located relative to the more private
                           spaces of bedrooms and bathrooms.
                             In the sample building project used in Chapter 17, “Documenting Your Design,” you may
                           want to visually show the various space types in the floor plans. You want to graphically
                           demonstrate which spaces have been assigned to various departments defined in the building’s
                           program of requirements. To get started, download and open the c20-Sample-Building-
                           Start.rvt or c20-Sample-Metric.rvt model from the book’s companion web page,
                           www.sybex.com/go/masteringrevit2015. You will begin by creating a new type of floor
                           plan that will help organize the Project Browser and automatically assign an appropriate
                           view template.
                             To get started, follow these steps:
                             1.  Switch to the View tab in the ribbon, locate the Create panel, and then choose Plan Views
                                ➢ Floor Plans. In the New Floor Plan dialog box, click the Edit Type button to open the
                                Type Properties dialog box for the Floor Plan type.
                             2.  Click the Duplicate button and then name the new view type Color Fill.
                             3.  Click the button in the parameter field named View Template Applied To New Views. In
                                the Apply View Template dialog box, select Color Fill Plans and then click OK to close the
                                Type Properties dialog box.
                             4.  Using the Ctrl key, select both Level 1 and Level 2 in the New Floor Plan dialog box, and
                                then click OK.
                             5.  Return to the Project Browser and you will see a new heading called Floor Plans (Color
                                Fill). Change the names of the new floor plans to Level 1 - Dept - Color and Level 2 -
                                Dept - Color.
                             6.  Activate each of the new color fill plans and use the Tag All Not Tagged tool to add room
                                tags to each plan.
                                For more information on tagging, see Chapter 18, “Annotating Your Design.”


          c20.indd   824                                                                             5/3/2014   11:59:57 AM

