Page 116 - Manual_Movie Edit Pro 2021_EN_Neat
P. 116
116


                          Transitions (fades)

                          When importing video files into the project window, individual objects usually follow
                          directly after one another. This is called a "hard cut". However, you can make scenes
                          blend or “transition” into each other.

                          This means that for the duration of a transition, two objects are shown at once and
                          can be mixed "faded" together in different ways. You will find numerous blends in the
                          Media Pool’s transition directory.

                          Simple dissolve


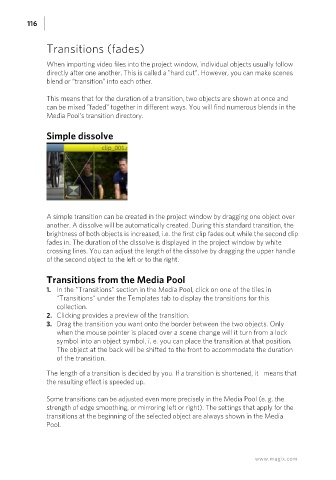
                          A simple transition can be created in the project window by dragging one object over
                          another. A dissolve will be automatically created. During this standard transition, the
                          brightness of both objects is increased, i.e. the first clip fades out while the second clip
                          fades in. The duration of the dissolve is displayed in the project window by white
                          crossing lines. You can adjust the length of the dissolve by dragging the upper handle
                          of the second object to the left or to the right.

                          Transitions from the Media Pool
                          1.  In the "Transitions" section in the Media Pool, click on one of the tiles in
                             "Transitions" under the Templates tab to display the transitions for this
                             collection.
                          2.  Clicking provides a preview of the transition.
                          3.  Drag the transition you want onto the border between the two objects. Only
                             when the mouse pointer is placed over a scene change will it turn from a lock
                             symbol into an object symbol, i. e. you can place the transition at that position.
                             The object at the back will be shifted to the front to accommodate the duration
                             of the transition.

                          The length of a transition is decided by you. If a transition is shortened, it   means that
                          the resulting effect is speeded up.

                          Some transitions can be adjusted even more precisely in the Media Pool (e. g. the
                          strength of edge smoothing, or mirroring left or right). The settings that apply for the
                          transitions at the beginning of the selected object are always shown in the Media
                          Pool.


                                                                                     www.magix.com

