Page 161 - Manual_Movie Edit Pro 2021_EN_Neat
P. 161
Effects   161
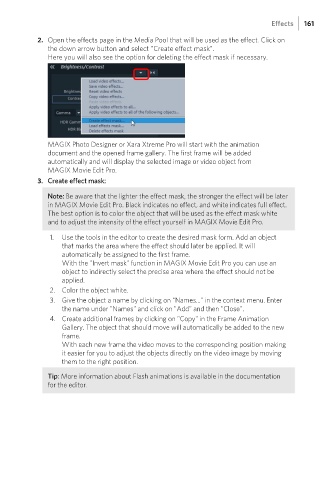
                        2.  Open the effects page in the Media Pool that will be used as the effect. Click on
                           the down arrow button and select "Create effect mask".
                           Here you will also see the option for deleting the effect mask if necessary.


                           MAGIX Photo Designer or Xara Xtreme Pro will start with the animation
                           document and the opened frame gallery. The first frame will be added
                           automatically and will display the selected image or video object from
                           MAGIX Movie Edit Pro.
                        3.  Create effect mask:

                           Note: Be aware that the lighter the effect mask, the stronger the effect will be later
                           in MAGIX Movie Edit Pro. Black indicates no effect, and white indicates full effect.
                           The best option is to color the object that will be used as the effect mask white
                           and to adjust the intensity of the effect yourself in MAGIX Movie Edit Pro.

                           1.  Use the tools in the editor to create the desired mask form. Add an object
                               that marks the area where the effect should later be applied. It will
                               automatically be assigned to the first frame.
                               With the "Invert mask" function in MAGIX Movie Edit Pro you can use an
                               object to indirectly select the precise area where the effect should not be
                               applied.
                           2.  Color the object white.
                           3.  Give the object a name by clicking on "Names..." in the context menu. Enter
                               the name under "Names" and click on "Add" and then "Close".
                           4.  Create additional frames by clicking on "Copy" in the Frame Animation
                               Gallery. The object that should move will automatically be added to the new
                               frame.
                               With each new frame the video moves to the corresponding position making
                               it easier for you to adjust the objects directly on the video image by moving
                               them to the right position.
                           Tip: More information about Flash animations is available in the documentation
                           for the editor.

