
Page 116 - Photoshop for Lightroom Users – Scott Kelby 2nd Edition
P. 116
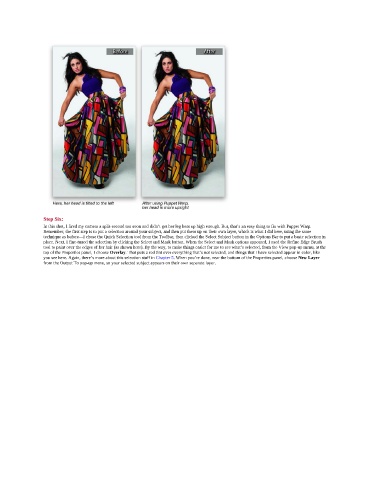
Step Six:
               In this shot, I fired my camera a split-second too soon and didn’t get her leg bent up high enough. But, that’s an easy thing to fix with Puppet Warp.
               Remember, the first step is to put a selection around your subject, and then put them up on their own layer, which is what I did here, using the same
               technique as before—I chose the Quick Selection tool from the Toolbar, then clicked the Select Subject button in the Options Bar to put a basic selection in
               place. Next, I fine-tuned the selection by clicking the Select and Mask button. When the Select and Mask options appeared, I used the Refine Edge Brush
               tool to paint over the edges of her hair (as shown here). By the way, to make things easier for me to see what’s selected, from the View pop-up menu, at the
               top of the Properties panel, I choose Overlay. That puts a red tint over everything that’s not selected, and things that I have selected appear in color, like
               you see here. Again, there’s more about this selection stuff in Chapter 5. When you’re done, near the bottom of the Properties panel, choose New Layer
               from the Output To pop-up menu, so your selected subject appears on their own separate layer.