Page 112 - Photoshop for Lightroom Users – Scott Kelby 2nd Edition
P. 112
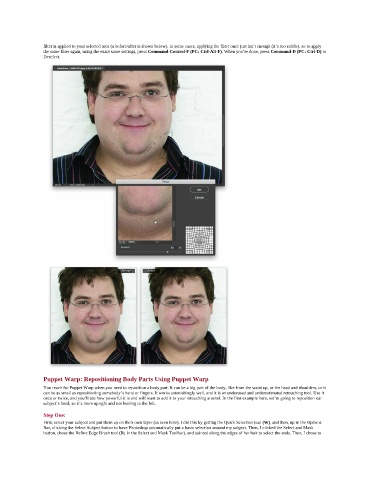
filter is applied to your selected area (a before/after is shown below). In some cases, applying the filter once just isn’t enough (it’s too subtle), so to apply
               the same filter again, using the exact same settings, press Command-Control-F (PC: Ctrl-Alt-F). When you’re done, press Command-D (PC: Ctrl-D) to
               Deselect.


               Puppet Warp: Repositioning Body Parts Using Puppet Warp
               You reach for Puppet Warp when you need to reposition a body part. It can be a big part of the body, like from the waist up, or the head and shoulders, or it
               can be as small as repositioning somebody’s hand or fingers. It works astonishingly well, and it is an underused and underestimated retouching tool. Use it
               once or twice, and you’ll see how powerful it is and will want to add it to your retouching arsenal. In the first example here, we’re going to reposition our
               subject’s head, so it’s more upright and not leaning to the left.
               Step One:
               First, select your subject and put them up on their own layer (as seen here). I did this by getting the Quick Selection tool (W), and then, up in the Options
               Bar, clicking the Select Subject button to have Photoshop automatically put a basic selection around my subject. Then, I clicked the Select and Mask
               button, chose the Refine Edge Brush tool (R; in the Select and Mask Toolbar), and painted along the edges of her hair to select the ends. Then, I chose to

