Page 108 - Photoshop for Lightroom Users – Scott Kelby 2nd Edition
P. 108
Tip: Freezing Parts you Don’t Want to Move
               If you’re moving a large section of anything (like maybe someone’s ears, or the side of their face, or their waist, etc.), when you use the Forward Warp
               tool, you always run the risk of moving things you don’t want to move (like their eyes, or cheeks, or nose). You can lock down any areas you don’t want to
               move at all by painting over them with the Freeze Mask tool (F; it’s the fifth tool from the bottom in the Toolbar). Just paint over those areas and they
               appear in a red tint, letting you know they’re frozen and will now not move, no matter what. When you’re done with the Forward Warp tool, you can erase
               those red frozen areas with the Thaw Mask tool (D; it’s right below the Freeze Mask tool). Just paint over the red areas to unfreeze them.
               Step Four:
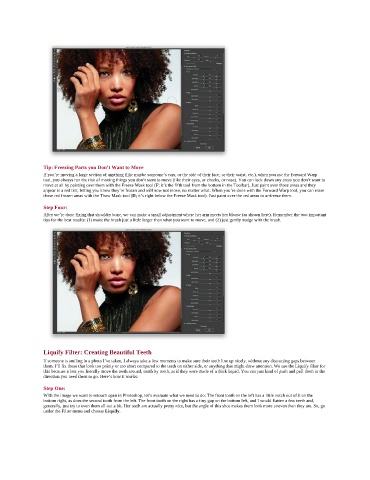
               After we’re done fixing that shoulder bone, we can make a small adjustment where her arm meets her blouse (as shown here). Remember the two important
               tips for the best results: (1) make the brush just a little larger than what you want to move, and (2) just gently nudge with the brush.


               Liquify Filter: Creating Beautiful Teeth
               If someone is smiling in a photo I’ve taken, I always take a few moments to make sure their teeth line up nicely, without any distracting gaps between
               them. I’ll fix those that look too pointy or too short compared to the teeth on either side, or anything that might draw attention. We use the Liquify filter for
               this because it lets you literally move the teeth around, tooth by tooth, as if they were made of a thick liquid. You can just kind of push and pull them in the
               direction you need them to go. Here’s how it works:

               Step One:
               With the image we want to retouch open in Photoshop, let’s evaluate what we need to do: The front tooth on the left has a little notch out of it on the
               bottom right, as does the second tooth from the left. The front tooth on the right has a tiny gap on the bottom left, and I would flatten a few teeth and,
               generally, just try to even them all out a bit. Her teeth are actually pretty nice, but the angle of this shot makes them look more uneven than they are. So, go
               under the Filter menu and choose Liquify.

