
Page 20 - Photoshop for Lightroom Users – Scott Kelby 2nd Edition
P. 20
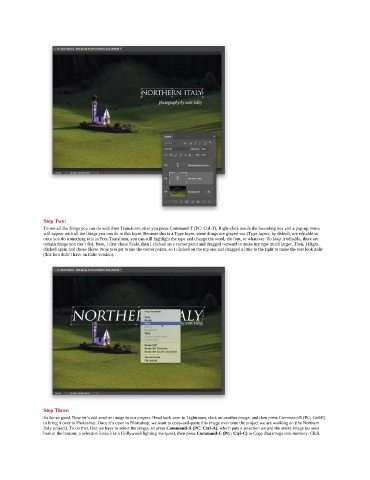
Step Two:
               To see all the things you can do with Free Transform, after you press Command-T (PC: Ctrl-T), Right-click inside the bounding box and a pop-up menu
               will appear with all the things you can do to this layer. Because this is a Type layer, some things are grayed-out (Type layers, by default, are editable so
               once you do something to it in Free Transform, you can still highlight the type and change the word, the font, or whatever. To keep it editable, there are
               certain things you can’t do). Here, I first chose Scale, then I clicked on a corner point and dragged outward to make my type much larger. Then, I Right-
               clicked again and chose Skew. Now you get to use the center points, so I clicked on the top one and dragged a little to the right to make the text look italic
               (this font didn’t have an italic version).


               Step Three:
               So far so good. Now let’s add another image to our project. Head back over to Lightroom, click on another image, and then press Command-E (PC: Ctrl-E)
               to bring it over to Photoshop. Once it’s open in Photoshop, we want to copy-and-paste this image over onto the project we are working on (the Northern
               Italy project). To do that, first we have to select the image, so press Command-A (PC: Ctrl-A), which puts a selection around the entire image (as seen
               here at the bottom; a selection looks like a Hollywood lighting marquee), then press Command-C (PC: Ctrl-C) to Copy that image into memory. Click