
Page 211 - Photoshop for Lightroom Users – Scott Kelby 2nd Edition
P. 211
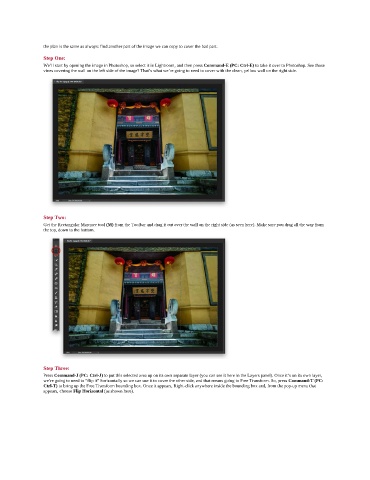
the plan is the same as always: find another part of the image we can copy to cover the bad part.

               Step One:
               We’ll start by opening the image in Photoshop, so select it in Lightroom, and then press Command-E (PC: Ctrl-E) to take it over to Photoshop. See those
               vines covering the wall on the left side of the image? That’s what we’re going to need to cover with the clean, yellow wall on the right side.


               Step Two:
               Get the Rectangular Marquee tool (M) from the Toolbar and drag it out over the wall on the right side (as seen here). Make sure you drag all the way from
               the top, down to the bottom.


               Step Three:
               Press Command-J (PC: Ctrl-J) to put this selected area up on its own separate layer (you can see it here in the Layers panel). Once it’s on its own layer,
               we’re going to need to “flip it” horizontally so we can use it to cover the other side, and that means going to Free Transform. So, press Command-T (PC:
               Ctrl-T) to bring up the Free Transform bounding box. Once it appears, Right-click anywhere inside the bounding box and, from the pop-up menu that
               appears, choose Flip Horizontal (as shown here).