
Page 215 - Photoshop for Lightroom Users – Scott Kelby 2nd Edition
P. 215
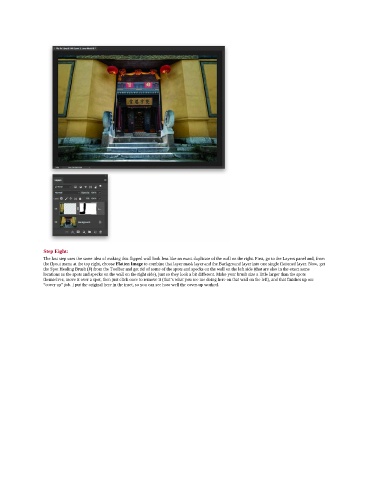
Step Eight:
               The last step uses the same idea of making this flipped wall look less like an exact duplicate of the wall on the right. First, go to the Layers panel and, from
               the flyout menu at the top right, choose Flatten Image to combine that layer mask layer and the Background layer into one single flattened layer. Now, get
               the Spot Healing Brush (J) from the Toolbar and get rid of some of the spots and specks on the wall on the left side (that are also in the exact same
               locations as the spots and specks on the wall on the right side), just so they look a bit different. Make your brush size a little larger than the spots
               themselves, move it over a spot, then just click once to remove it (that’s what you see me doing here on that wall on the left), and that finishes up our
               “cover up” job. I put the original here in the inset, so you can see how well the cover-up worked.