
Page 42 - Photoshop for Lightroom Users – Scott Kelby 2nd Edition
P. 42
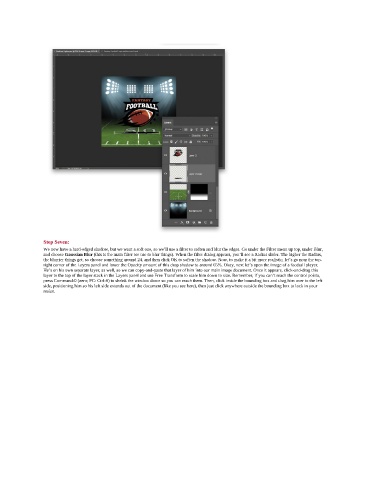
Step Seven:
               We now have a hard-edged shadow, but we want a soft one, so we’ll use a filter to soften and blur the edges. Go under the Filter menu up top, under Blur,
               and choose Gaussian Blur (this is the main filter we use to blur things). When the filter dialog appears, you’ll see a Radius slider. The higher the Radius,
               the blurrier things get, so choose something around 24, and then click OK to soften the shadow. Now, to make it a bit more realistic, let’s go near the top-
               right corner of the Layers panel and lower the Opacity amount of this drop shadow to around 65%. Okay, next let’s open the image of a football player.
               He’s on his own separate layer, as well, so we can copy-and-paste that layer of him into our main image document. Once it appears, click-and-drag this
               layer to the top of the layer stack in the Layers panel and use Free Transform to scale him down to size. Remember, if you can’t reach the control points,
               press Command-0 (zero; PC: Ctrl-0) to shrink the window down so you can reach them. Then, click inside the bounding box and drag him over to the left
               side, positioning him so his left side extends out of the document (like you see here), then just click anywhere outside the bounding box to lock in your
               resize.