
Page 46 - Photoshop for Lightroom Users – Scott Kelby 2nd Edition
P. 46
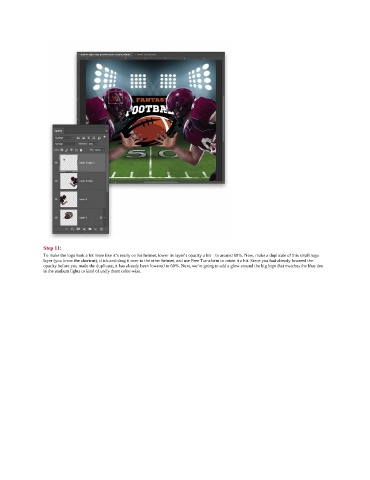
Step 11:
               To make the logo look a bit more like it’s really on his helmet, lower its layer’s opacity a bit—to around 60%. Now, make a duplicate of this small logo
               layer (you know the shortcut), click-and-drag it over to the other helmet, and use Free Transform to rotate it a bit. Since you had already lowered the
               opacity before you made the duplicate, it has already been lowered to 60%. Next, we’re going to add a glow around the big logo that matches the blue tint
               in the stadium lights to kind of unify them color-wise.