
Page 73 - Photoshop for Lightroom Users – Scott Kelby 2nd Edition
P. 73
Step Three:
But, Adobe must have gotten tired of hearing me whine about how bad these presets are because, a few years back, they asked if they could include one of
my presets, and it has been in Merge to HDR Pro ever since—it’s called “Scott5.” So, go ahead and choose Scott5, from the Preset pop-up menu, and
you’ll see that it gives you that over-the-top HDR-tone-mapped look (I know, it looks bad right now, but it’ll get better in just a moment). After you choose
Scott 5, turn on the Edge Smoothness checkbox (found right under the Strength slider) to remove some of the harshness (the Edge Smoothness feature
hadn’t been added to Merge to HDR Pro yet back when I created that preset, or I would have had it on already as part of the preset). Okay, it’s looking
more “HDR-like” but it’s still a bit too dark overall, so don’t hit the OK button quite yet.
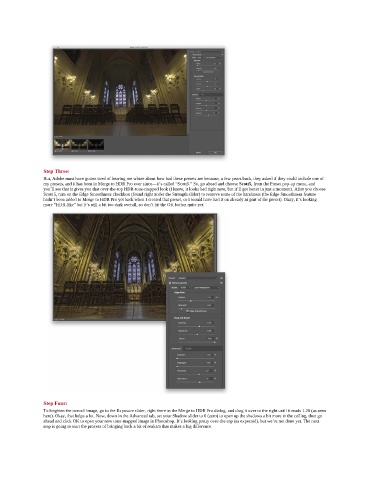
Step Four:
To brighten the overall image, go to the Exposure slider, right there in the Merge to HDR Pro dialog, and drag it over to the right until it reads 1.20 (as seen
here). Okay, that helps a lot. Now, down in the Advanced tab, set your Shadow slider to 0 (zero) to open up the shadows a bit more in the ceiling, then go
ahead and click OK to open your now tone-mapped image in Photoshop. It’s looking pretty over-the-top (as expected), but we’re not done yet. The next
step is going to start the process of bringing back a bit of realism that makes a big difference.