
Page 74 - Photoshop for Lightroom Users – Scott Kelby 2nd Edition
P. 74
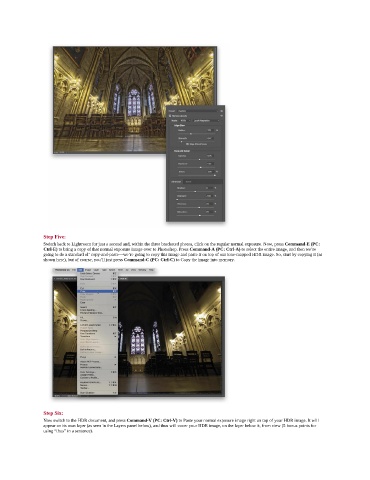
Step Five:
               Switch back to Lightroom for just a second and, within the three bracketed photos, click on the regular normal exposure. Now, press Command-E (PC:
               Ctrl-E) to bring a copy of that normal exposure image over to Photoshop. Press Command-A (PC: Ctrl-A) to select the entire image, and then we’re
               going to do a standard ol’ copy-and-paste—we’re going to copy this image and paste it on top of our tone-mapped HDR image. So, start by copying it (as
               shown here), but of course, you’ll just press Command-C (PC: Ctrl-C) to Copy the image into memory.


               Step Six:
               Now switch to the HDR document, and press Command-V (PC: Ctrl-V) to Paste your normal exposure image right on top of your HDR image. It will
               appear on its own layer (as seen in the Layers panel below), and thus will cover your HDR image, on the layer below it, from view (5 bonus points for
               using “thus” in a sentence).