
Page 85 - Photoshop for Lightroom Users – Scott Kelby 2nd Edition
P. 85
overall. No sharpening at all, though. Now, click OK to open your image in Photoshop (it automatically down-samples it to 16 bit when it opens it in
Photoshop).
Step Four:
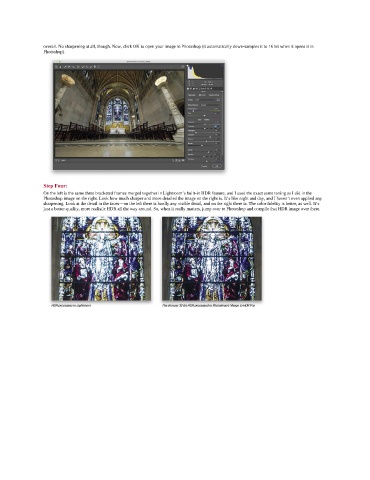
On the left is the same three bracketed frames merged together in Lightroom’s built-in HDR feature, and I used the exact same toning as I did in the
Photoshop image on the right. Look how much sharper and more detailed the image on the right is. It’s like night and day, and I haven’t even applied any
sharpening. Look at the detail in the faces—on the left there is hardly any visible detail, and on the right there is. The color fidelity is better, as well. It’s
just a better-quality, more realistic HDR all the way around. So, when it really matters, jump over to Photoshop and compile that HDR image over there.