
Page 373 - Kitab3DsMax
P. 373
Chapter 12: Drawing and Editing 2D Splines and Shapes
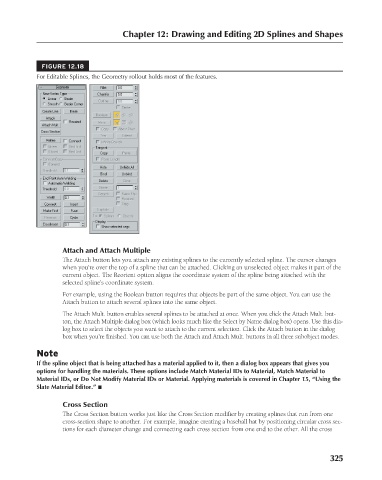
FIGURE 12.18
For Editable Splines, the Geometry rollout holds most of the features.
Attach and Attach Multiple
The Attach button lets you attach any existing splines to the currently selected spline. The cursor changes
when you’re over the top of a spline that can be attached. Clicking an unselected object makes it part of the
current object. The Reorient option aligns the coordinate system of the spline being attached with the
selected spline’s coordinate system.
For example, using the Boolean button requires that objects be part of the same object. You can use the
Attach button to attach several splines into the same object.
The Attach Mult. button enables several splines to be attached at once. When you click the Attach Mult. but-
ton, the Attach Multiple dialog box (which looks much like the Select by Name dialog box) opens. Use this dia-
log box to select the objects you want to attach to the current selection. Click the Attach button in the dialog
box when you’re finished. You can use both the Attach and Attach Mult. buttons in all three subobject modes.
Note
If the spline object that is being attached has a material applied to it, then a dialog box appears that gives you
options for handling the materials. These options include Match Material IDs to Material, Match Material to
Material IDs, or Do Not Modify Material IDs or Material. Applying materials is covered in Chapter 15, “Using the
Slate Material Editor.” n
Cross Section
The Cross Section button works just like the Cross Section modifier by creating splines that run from one
cross-section shape to another. For example, imagine creating a baseball bat by positioning circular cross sec-
tions for each diameter change and connecting each cross section from one end to the other. All the cross
325
6/30/10 4:20 PM
19_617779-ch12.indd 325
19_617779-ch12.indd 325 6/30/10 4:20 PM