
Page 811 - Kitab3DsMax
P. 811
Chapter 30: Using Specialized Material Types
6. To see the final result, you need to render the image. To do this, select Rendering ➪ Render (or
press F10) to open the Render Scene dialog box. Click the Render button at the bottom of the
dialog box, and the image is rendered in the Rendered Frame Window, or press the F9 key.
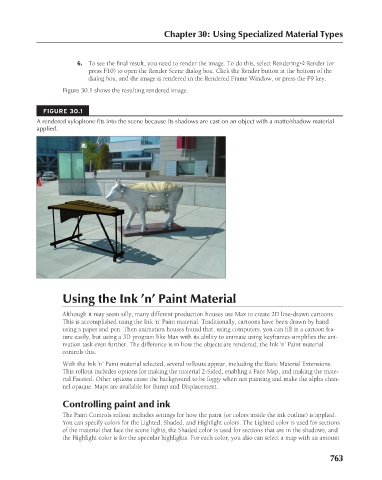
FIGURE 30.1
A rendered xylophone fits into the scene because its shadows are cast on an object with a matte/shadow material
applied. Figure 30.1 shows the resulting rendered image.
Using the Ink ’n’ Paint Material
Although it may seem silly, many different production houses use Max to create 2D line-drawn cartoons.
This is accomplished using the Ink ’n’ Paint material. Traditionally, cartoons have been drawn by hand
using a paper and pen. Then animation houses found that, using computers, you can fill in a cartoon fea-
ture easily, but using a 3D program like Max with its ability to animate using keyframes simplifies the ani-
mation task even further. The difference is in how the objects are rendered; the Ink ’n’ Paint material
controls this.
With the Ink ’n’ Paint material selected, several rollouts appear, including the Basic Material Extensions.
This rollout includes options for making the material 2-Sided, enabling a Face Map, and making the mate-
rial Faceted. Other options cause the background to be foggy when not painting and make the alpha chan-
nel opaque. Maps are available for Bump and Displacement.
Controlling paint and ink
The Paint Controls rollout includes settings for how the paint (or colors inside the ink outline) is applied.
You can specify colors for the Lighted, Shaded, and Highlight colors. The Lighted color is used for sections
of the material that face the scene lights, the Shaded color is used for sections that are in the shadows, and
the Highlight color is for the specular highlights. For each color, you also can select a map with an amount
763