
Page 123 - Act! Marketing Automation User Guide
P. 123
Web End User Training Guide Drip Marketing
We now need to specify the Decision steps we have just added to our template. Both will
be the same criteria, that is, did the contact click on the link in the email. To do this, click
on each Decision in turn, and choose to Edit Logic.
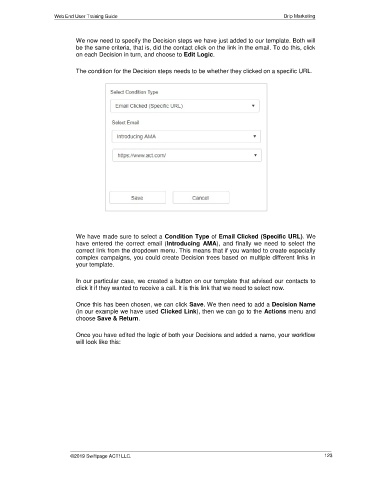
The condition for the Decision steps needs to be whether they clicked on a specific URL.
We have made sure to select a Condition Type of Email Clicked (Specific URL). We
have entered the correct email (Introducing AMA), and finally we need to select the
correct link from the dropdown menu. This means that if you wanted to create especially
complex campaigns, you could create Decision trees based on multiple different links in
your template.
In our particular case, we created a button on our template that advised our contacts to
click it if they wanted to receive a call. It is this link that we need to select now.
Once this has been chosen, we can click Save. We then need to add a Decision Name
(in our example we have used Clicked Link), then we can go to the Actions menu and
choose Save & Return.
Once you have edited the logic of both your Decisions and added a name, your workflow
will look like this:
©2019 Swiftpage ACT! LLC. 123