
Page 31 - Act! Marketing Automation User Guide
P. 31
Act! Marketing Automation Training Guide Landing Pages
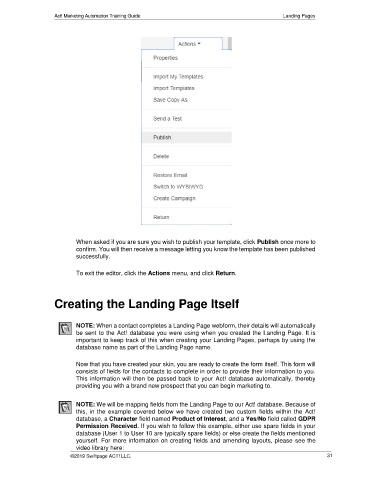
When asked if you are sure you wish to publish your template, click Publish once more to
confirm. You will then receive a message letting you know the template has been published
successfully.
To exit the editor, click the Actions menu, and click Return.
Creating the Landing Page Itself
NOTE: When a contact completes a Landing Page webform, their details will automatically
be sent to the Act! database you were using when you created the Landing Page. It is
important to keep track of this when creating your Landing Pages, perhaps by using the
database name as part of the Landing Page name.
Now that you have created your skin, you are ready to create the form itself. This form will
consists of fields for the contacts to complete in order to provide their information to you.
This information will then be passed back to your Act! database automatically, thereby
providing you with a brand new prospect that you can begin marketing to.
NOTE: We will be mapping fields from the Landing Page to our Act! database. Because of
this, in the example covered below we have created two custom fields within the Act!
database, a Character field named Product of Interest, and a Yes/No field called GDPR
Permission Received. If you wish to follow this example, either use spare fields in your
database (User 1 to User 10 are typically spare fields) or else create the fields mentioned
yourself. For more information on creating fields and amending layouts, please see the
video library here:
©2019 Swiftpage ACT! LLC. 31