
Page 153 - FreesStyler® Installation and Startup
P. 153
®
INSTALLATION AND STARTUP
Chapter 9 Optional “Add-On” Items
Water Softener
Pre-installation Review
A prefilter should be used before a softener to prevent any foreign material from getting into the equipment.
VERY IMPORTANT! Where a brine drum overflow could cause damage, a 1/2" I.D. overflow line must be installed on
the barbed fitting on drum and connected to a drain. Make sure the drain is not higher than barbed fitting.
Note: Clear area along wall where PVC drain line will be run to floor drain. Kinetico does not
recommend running flexible tubing across the floor or along walls, as it may be kicked out
of discharge point at floor drain, or line may become pinched resulting in improper back
washing.
When installing a plastic component in line, it is recommended that grounding straps be put in place BEFORE the
lines are actually cut to ensure that the ground is never broken.
When installation is complete, plumbing lines must be chlorinated for sanitation. Common household bleach may be
used. The amount of bleach will vary on plumbing size, lengths and fixtures.
On iron bearing water, a salt which contains resin cleaning additives is recommended. (IMPORTANT! This does not
apply to tannin units.)
Note: A clean grade of salt is strongly recommended. Do not use rock salt.
Read all steps, guides and rules carefully before installing and using the Kinetico
Softener.
Kinetico Softener Installation CP 213
2) Determine location to install equipment. Make sure that the unit will be on a flat surface. Test the water to confirm unit is properly
sized for installation. If sand/silt or turbidity is present, a separate prefilter should be installed.
A ladder should be used for all work over head that would be beyond your natural reach. If working continuously at a height
of six feet or more, the appropriate safety devices must be employed.
Verify installation complies with state and local plumbing codes before continuing.
3) Install with by-pass valving. Note the inlet and outlet arrows on valve head.
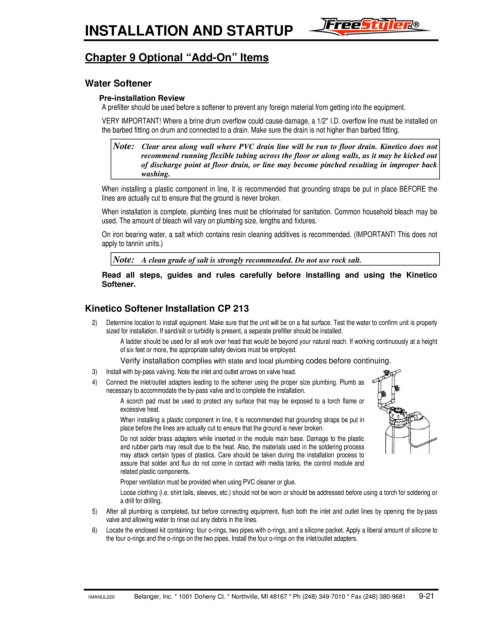
4) Connect the inlet/outlet adapters leading to the softener using the proper size plumbing. Plumb as
necessary to accommodate the by-pass valve and to complete the installation.
A scorch pad must be used to protect any surface that may be exposed to a torch flame or
excessive heat.
When installing a plastic component in line, it is recommended that grounding straps be put in
place before the lines are actually cut to ensure that the ground is never broken.
Do not solder brass adapters while inserted in the module main base. Damage to the plastic
and rubber parts may result due to the heat. Also, the materials used in the soldering process
may attack certain types of plastics. Care should be taken during the installation process to
assure that solder and flux do not come in contact with media tanks, the control module and
related plastic components.
Proper ventilation must be provided when using PVC cleaner or glue.
Loose clothing (i.e. shirt tails, sleeves, etc.) should not be worn or should be addressed before using a torch for soldering or
a drill for drilling.
5) After all plumbing is completed, but before connecting equipment, flush both the inlet and outlet lines by opening the by-pass
valve and allowing water to rinse out any debris in the lines.
6) Locate the enclosed kit containing: four o-rings, two pipes with o-rings, and a silicone packet. Apply a liberal amount of silicone to
the four o-rings and the o-rings on the two pipes. Install the four o-rings on the inlet/outlet adapters.
1MANUL220 Belanger, Inc. * 1001 Doheny Ct. * Northville, MI 48167 * Ph (248) 349-7010 * Fax (248) 380-9681 9-21