
Page 212 - Divyank Tyagi
P. 212
178 | ChaPTer 5 Working in a Team
At any point in this process, you can check your work by opening the Workset tab in the
Visibility/Graphic Overrides dialog box and setting all but one workset to Hide. Use this
method to inspect the contents of each workset.
The workflow described in the preceding exercise is necessary only if you have developed
a model before enabling worksharing for collaboration. You can always start a new project
enabled with worksets, and your team can develop the model simultaneously. The only
important thing to remember is to ensure your team uses the appropriate active workset when
working in a worksharing-enabled project. We’ll cover that in greater detail in the following
section.
Managing Workflow with Worksets
Now that you or your BIM manager has established a central file and organized your project
into worksets, you can get ready to work by creating a local copy of the central file. Do you
need to do anything special to begin working in a project that’s enabled with worksets? No.
You can simply start adding or editing content in your project because permissions are being
automatically managed as you work. Just remember that you can’t edit any elements (2D or 3D)
that someone else is already editing.
You don’t have to make any worksets editable unless you want to prevent other team
members from editing certain parts of your project until you have completed some work.
Remember the library analogy earlier in this chapter.
Don’t Work in the Central File
make sure that you never work directly within the central file. Doing so will change the file attributes
on the server and prohibit anyone with a local file from being able to synchronize with the central
file. The possibility of losing a lot of work and effort from team members exists, so it is safer to err
on the side of caution by simply never opening the file.
The most important thing to remember when you use worksharing is that every element
in the file and added to the file belongs to a workset. To make sure you are placing elements
in the proper workset while working, there are a few tools to ensure that the right workset is
selected.
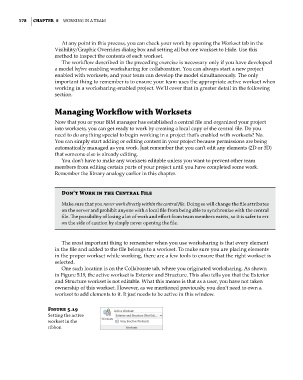
One such location is on the Collaborate tab, where you originated worksharing. As shown
in Figure 5.19, the active workset is Exterior and Structure. This also tells you that the Exterior
and Structure workset is not editable. What this means is that as a user, you have not taken
ownership of this workset. However, as we mentioned previously, you don’t need to own a
workset to add elements to it. It just needs to be active in this window.
Figure 5.19
setting the active
workset in the
ribbon
c05.indd 178 05-05-2014 16:44:31