
Page 740 - Divyank Tyagi
P. 740
706 | ChAPTer 16 Detailing Your Design
There are two ways to make a detail group. The more common one is to create the detail
elements you’d like to group, select all of them, and then click the Create Group button in the
Create tab of the contextual tab of the ribbon. When you’re prompted for a group name, use a
naming convention that will help you organize and recognize the contents of each group rather
than accepting the default name (Group 1, Group 2, and so on).
The other way to create a detail group is by clicking the Create Group button in the Detail
Group fly-out on the Annotate tab (Figure 16.25). You will then be prompted for the type of
group (Model or Detail) and a group name before you can select any elements for the group.
If you are working in a drafting view, you can only create a detail group; the Model option is
inactive in this case.
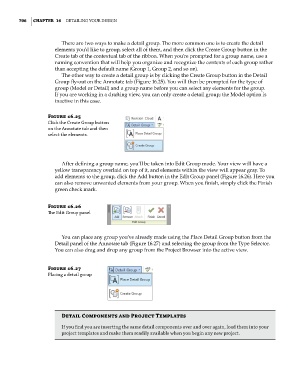
Figure 16.25
Click the Create group button
on the annotate tab and then
select the elements.
After defining a group name, you’ll be taken into Edit Group mode. Your view will have a
yellow transparency overlaid on top of it, and elements within the view will appear gray. To
add elements to the group, click the Add button in the Edit Group panel (Figure 16.26). Here you
can also remove unwanted elements from your group. When you finish, simply click the Finish
green check mark.
Figure 16.26
The edit group panel
You can place any group you’ve already made using the Place Detail Group button from the
Detail panel of the Annotate tab (Figure 16.27) and selecting the group from the Type Selector.
You can also drag and drop any group from the Project Browser into the active view.
Figure 16.27
Placing a detail group
Detail Components and Project Templates
if you find you are inserting the same detail components over and over again, load them into your
project templates and make them readily available when you begin any new project.
c16.indd 706 5/3/2014 11:34:30 AM