
Page 20 - Parker - Assembly/Installation
P. 20
4300 Catalog Assembly / Installation
Triple-Lok Assembly
Triple-Lok/Triple-Lok 2
Assembly
For leak-free performance, the Triple-Lok fitting requires the
following steps:
1. Cutting, deburring and cleaning of the tube
2. Flaring
3. Flare inspection
4. Installation
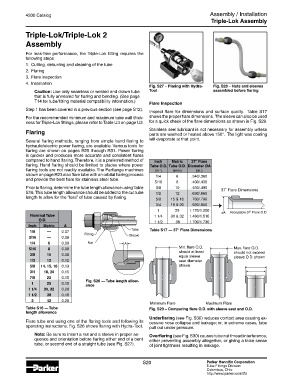
Fig. S27 – Flaring with Hydra- Fig. S28 – Nuts and sleeves
Caution: Use only seamless or welded and drawn tube Tool assembled before flaring
that is fully annealed for flaring and bending. (See page
T14 for tube/fitting material compatibility information.) Flare Inspection
Step 1 has been covered in a previous section (see page S12).
Inspect flare for dimensions and surface quality. Table S17
For the recommended minimum and maximum tube wall thick- shows the proper flare dimensions. The sleeve can also be used
ness for Triple-Lok fittings, please refer to Table U3 on page U3. for a quick check of the flare dimensions as shown in Fig. S29.
Flaring Stainless seel lubricant is not necessary for assembly unless
parts are washed or heated above 150°. The light wax coating
will evaporate at that point.
Several flaring methods, ranging from simple hand flaring to
hydraulic/electric power flaring, are available. Various tools for
flaring are shown on pages R25 through R31. Power flaring
is quicker and produces more accurate and consistent flares
compared to hand flaring. Therefore, it is a preferred method of Inch Metric 37° Flare
flaring. Hand flaring should be limited to places where power Tube O.D. Tube O.D. Diameter ØA
flaring tools are not readily available. The Parflange machines (in.) (mm) (in.)
shown on page R23 also flare tube with an orbital flaring process 1/4 6 .340/.360
and provide the best flare for stainless steel tube.
5/16 8 .400/.430
Prior to flaring, determine the tube length allowance using Table 3/8 10 .460/.490
S16. This tube length allowance should be added to the cut tube 1/2 12 .630/.660
length to allow for the “loss” of tube caused by flaring. 5/8 15 & 16 .760/.790
3/4 18 & 20 .920/.950
1 25 1.170/1.200
Nominal Tube 1 1/4 30 & 32 1.480/1.510
O.D.
1 1/2 38 1.700/1.730
Inch Metric A
1/8 — 0.07 Table S17 — 37° Flare Dimensions
3/16 — 0.08
1/4 6 0.09
5/16 8 0.08
3/8 10 0.08
1/2 12 0.12
5/8 14, 15, 16 0.13
3/4 18, 20 0.15
7/8 22 0.15
Fig. S26 — Tube length allow-
1 25 0.15
ance
1 1/4 30, 32 0.20
1 1/2 38 0.18
2 42 0.28
Table S16 — Tube Fig. S29 – Comparing flare O.D. with sleeve seat and O.D.
length allowance
Underflaring (see Fig. S30) reduces contact area causing ex-
Flare tube end using one of the flaring tools and following its cessive nose collapse and leakage; or, in extreme cases, tube
operating instructions. Fig. S26 shows flaring with Hydra-Tool. pull out under pressure.
Note: Be sure to insert a nut and a sleeve in proper se- Overflaring (see Fig. S30) causes tube nut thread interference,
quence and orientation before flaring either end of a bent either preventing assembly altogether, or giving a false sense
tube, or second end of a straight tube (see Fig. S27). of joint tightness resulting in leakage.
S20 Parker Hannifin Corporation
Tube Fittings Division
Columbus, Ohio
http://www.parker.com/tfd