
Page 1187 - Kitab3DsMax
P. 1187
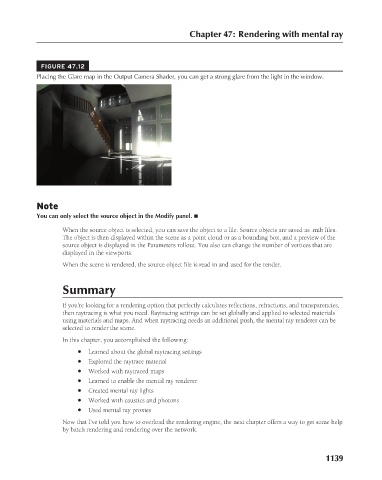
FIGURE 47.12
                                     Placing the Glare map in the Output Camera Shader, you can get a strong glare from the light in the window.


                                     Note                                       Chapter 47: Rendering with mental ray
                                     You can only select the source object in the Modify panel. n
                                             When the source object is selected, you can save the object to a file. Source objects are saved as .mib files.
                                             The object is then displayed within the scene as a point cloud or as a bounding box, and a preview of the
                                             source object is displayed in the Parameters rollout. You also can change the number of vertices that are
                                             displayed in the viewports.
                                             When the scene is rendered, the source object file is read in and used for the render.


                                             Summary

                                             If you’re looking for a rendering option that perfectly calculates reflections, refractions, and transparencies,
                                             then raytracing is what you need. Raytracing settings can be set globally and applied to selected materials
                                             using materials and maps. And when raytracing needs an additional push, the mental ray renderer can be
                                             selected to render the scene.
                                             In this chapter, you accomplished the following:
                                                 l  Learned about the global raytracing settings
                                                 l  Explored the raytrace material
                                                 l  Worked with raytraced maps
                                                 l  Learned to enable the mental ray renderer
                                                 l  Created mental ray lights
                                                 l  Worked with caustics and photons
                                                 l  Used mental ray proxies
                                             Now that I’ve told you how to overload the rendering engine, the next chapter offers a way to get some help
                                             by batch rendering and rendering over the network.


                                                                                                                      1139