
Page 1193 - Kitab3DsMax
P. 1193
Chapter 48: Batch and Network Rendering
Tip
Installing 3ds Max in the same directory on every computer can save you some maintenance headaches later on.
Managing bitmap and plug-in directories is much easier if each machine has the same directory layout. n
You also need to set up several shared directories on the network where the scenes and materials can be
accessed from and where the rendered scenes can be saved. Once you have these shared folders in place,
you are ready to start up your network rendering system.
Tutorial: Initializing the network rendering system
The very first time you start your rendering farm, you need to help Max do a little initialization.
To initialize the network rendering system, follow these steps:
1. Start the network manager on one machine in your rendering farm. This program, Manager.exe,
is in the Backburner directory. You can start the manager by selecting it and pressing Enter in
Windows Explorer. After it starts up, you first see the Backburner Manager General Properties
dialog box. This dialog box appears only the first time you run the Manager.exe program or if you
choose Edit ➪ General Settings. I cover its settings later in the chapter. After setting these proper-
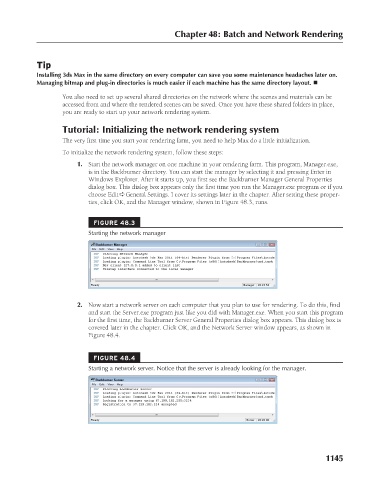
ties, click OK, and the Manager window, shown in Figure 48.3, runs.
FIGURE 48.3
Starting the network manager
2. Now start a network server on each computer that you plan to use for rendering. To do this, find
and start the Server.exe program just like you did with Manager.exe. When you start this program
for the first time, the Backburner Server General Properties dialog box appears. This dialog box is
covered later in the chapter. Click OK, and the Network Server window appears, as shown in
Figure 48.4.
FIGURE 48.4
Starting a network server. Notice that the server is already looking for the manager.
1145