
Page 872 - Kitab3DsMax
P. 872
Part VII: Advanced Materials
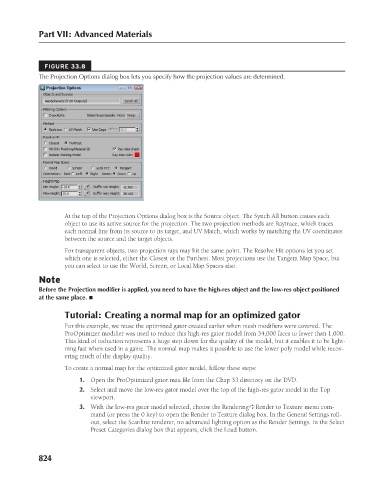
FIGURE 33.8
The Projection Options dialog box lets you specify how the projection values are determined.
At the top of the Projection Options dialog box is the Source object. The Synch All button causes each
object to use its active source for the projection. The two projection methods are Raytrace, which traces
each normal line from its source to its target, and UV Match, which works by matching the UV coordinates
between the source and the target objects.
For transparent objects, two projection rays may hit the same point. The Resolve Hit options let you set
which one is selected, either the Closest or the Furthest. Most projections use the Tangent Map Space, but
you can select to use the World, Screen, or Local Map Spaces also.
Note
Before the Projection modifier is applied, you need to have the high-res object and the low-res object positioned
at the same place. n
Tutorial: Creating a normal map for an optimized gator
For this example, we reuse the optimized gator created earlier when mesh modifiers were covered. The
ProOptimizer modifier was used to reduce this high-res gator model from 34,000 faces to fewer than 1,000.
This kind of reduction represents a huge step down for the quality of the model, but it enables it to be light-
ning fast when used in a game. The normal map makes it possible to use the lower poly model while recov-
ering much of the display quality.
To create a normal map for the optimized gator model, follow these steps:
1. Open the ProOptimized gator.max file from the Chap 33 directory on the DVD.
2. Select and move the low-res gator model over the top of the high-res gator model in the Top
viewport.
3. With the low-res gator model selected, choose the Rendering ➪ Render to Texture menu com-
mand (or press the 0 key) to open the Render to Texture dialog box. In the General Settings roll-
out, select the Scanline renderer, no advanced lighting option as the Render Settings. In the Select
Preset Categories dialog box that appears, click the Load button.
824