
Page 275 - Divyank Tyagi
P. 275
|
usIng InserteD 2D Data 241
1. Switch to the View tab and select Drafting View from the Create panel.
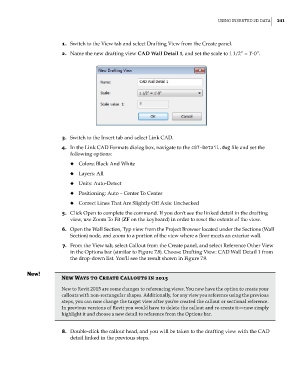
2. Name the new drafting view CAD Wall Detail 1, and set the scale to 1 1/2” = 1’-0”.
3. Switch to the Insert tab and select Link CAD.
4. In the Link CAD Formats dialog box, navigate to the c07-Detail.dwg file and set the
following options:
◆ ◆ Colors: Black And White
◆ ◆ Layers: All
◆ ◆ Units: Auto-Detect
◆ ◆ Positioning: Auto – Center To Center
◆ ◆ Correct Lines That Are Slightly Off Axis: Unchecked
5. Click Open to complete the command. If you don’t see the linked detail in the drafting
view, use Zoom To Fit (ZF on the keyboard) in order to reset the extents of the view.
6. Open the Wall Section, Typ view from the Project Browser located under the Sections (Wall
Section) node, and zoom to a portion of the view where a floor meets an exterior wall.
7. From the View tab, select Callout from the Create panel, and select Reference Other View
in the Options bar (similar to Figure 7.8). Choose Drafting View: CAD Wall Detail 1 from
the drop-down list. You’ll see the result shown in Figure 7.9.
New Ways to Create Callouts in 2015
new to revit 2015 are some changes to referencing views. you now have the option to create your
callouts with non-rectangular shapes. additionally, for any view you reference using the previous
steps, you can now change the target view after you’ve created the callout or sectional reference.
In previous versions of revit you would have to delete the callout and re-create it—now simply
highlight it and choose a new detail to reference from the options bar.
8. Double-click the callout head, and you will be taken to the drafting view with the CAD
detail linked in the previous steps.
c07.indd 241 5/3/2014 10:48:55 AM