
Page 416 - Divyank Tyagi
P. 416
382 | ChaPter 10 Working With Phasing, grouPs, and design oPtions
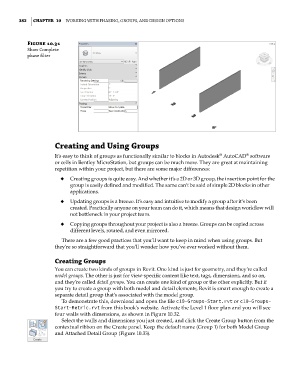
Figure 10.31
show Complete
phase filter
Creating and Using Groups
®
It’s easy to think of groups as functionally similar to blocks in Autodesk AutoCAD software
®
or cells in Bentley MicroStation, but groups can be much more. They are great at maintaining
repetition within your project, but there are some major differences:
◆ ◆ Creating groups is quite easy. And whether it’s a 2D or 3D group, the insertion point for the
group is easily defined and modified. The same can’t be said of simple 2D blocks in other
applications.
◆ ◆ Updating groups is a breeze. It’s easy and intuitive to modify a group after it’s been
created. Practically anyone on your team can do it, which means that design workflow will
not bottleneck in your project team.
◆ ◆ Copying groups throughout your project is also a breeze. Groups can be copied across
different levels, rotated, and even mirrored.
There are a few good practices that you’ll want to keep in mind when using groups. But
they’re so straightforward that you’ll wonder how you’ve ever worked without them.
Creating Groups
You can create two kinds of groups in Revit. One kind is just for geometry, and they’re called
model groups. The other is just for view-specific content like text, tags, dimensions, and so on,
and they’re called detail groups. You can create one kind of group or the other explicitly. But if
you try to create a group with both model and detail elements, Revit is smart enough to create a
separate detail group that’s associated with the model group.
To demonstrate this, download and open the file c10-Groups-Start.rvt or c10-Groups-
Start-Metric.rvt from this book’s website. Activate the Level 1 floor plan and you will see
four walls with dimensions, as shown in Figure 10.32.
Select the walls and dimensions you just created, and click the Create Group button from the
contextual ribbon on the Create panel. Keep the default name (Group 1) for both Model Group
and Attached Detail Group (Figure 10.33).
c10.indd 382 5/3/2014 11:04:51 AM