
Page 442 - Divyank Tyagi
P. 442
408 | ChaPter 10 Working With Phasing, grouPs, and design oPtions
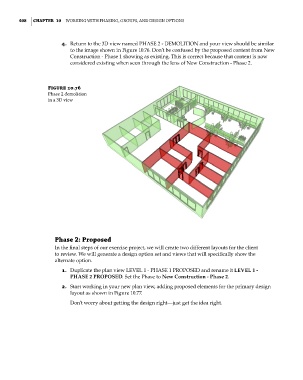
4. Return to the 3D view named PHASE 2 - DEMOLITION and your view should be similar
to the image shown in Figure 10.76. Don’t be confused by the proposed content from New
Construction - Phase 1 showing as existing. This is correct because that content is now
considered existing when seen through the lens of New Construction - Phase 2.
Figure 10.76
Phase 2 demolition
in a 3d view
Phase 2: Proposed
In the final steps of our exercise project, we will create two different layouts for the client
to review. We will generate a design option set and views that will specifically show the
alternate option.
1. Duplicate the plan view LEVEL 1 - PHASE 1 PROPOSED and rename it LEVEL 1 -
PHASE 2 PROPOSED. Set the Phase to New Construction - Phase 2.
2. Start working in your new plan view, adding proposed elements for the primary design
layout as shown in Figure 10.77.
Don’t worry about getting the design right—just get the idea right.
c10.indd 408 5/3/2014 11:05:04 AM