
Page 497 - Divyank Tyagi
P. 497
|
unDeRstanDing PHoto-RealistiC Visualization 463
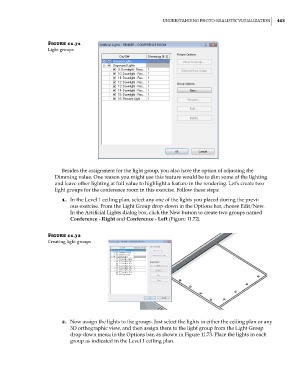
Figure 11.71
light groups
Besides the assignment for the light group, you also have the option of adjusting the
Dimming value. One reason you might use this feature would be to dim some of the lighting
and leave other lighting at full value to highlight a feature in the rendering. Let’s create two
light groups for the conference room in this exercise. Follow these steps:
1. In the Level 1 ceiling plan, select any one of the lights you placed during the previ-
ous exercise. From the Light Group drop-down in the Options bar, choose Edit/New.
In the Artificial Lights dialog box, click the New button to create two groups named
Conference - Right and Conference - Left (Figure 11.72).
Figure 11.72
Creating light groups
2. Now assign the lights to the groups. Just select the lights in either the ceiling plan or any
3D orthographic view, and then assign them to the light group from the Light Group
drop-down menu in the Options bar, as shown in Figure 11.73. Place the lights in each
group as indicated in the Level 1 ceiling plan.
c11.indd 463 5/3/2014 11:07:31 AM