
Page 498 - Divyank Tyagi
P. 498
464 | ChaptER 11 Visualization
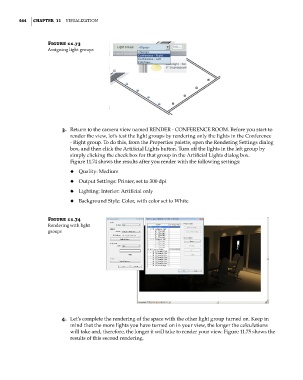
Figure 11.73
assigning light groups
3. Return to the camera view named RENDER - CONFERENCE ROOM. Before you start to
render the view, let’s test the light groups by rendering only the lights in the Conference
- Right group. To do this, from the Properties palette, open the Rendering Settings dialog
box, and then click the Artificial Lights button. Turn off the lights in the left group by
simply clicking the check box for that group in the Artificial Lights dialog box.
Figure 11.74 shows the results after you render with the following settings:
◆ ◆ Quality: Medium
◆ ◆ Output Settings: Printer, set to 300 dpi
◆ ◆ Lighting: Interior: Artificial only
◆ ◆ Background Style: Color, with color set to White
Figure 11.74
Rendering with light
groups
4. Let’s complete the rendering of the space with the other light group turned on. Keep in
mind that the more lights you have turned on in your view, the longer the calculations
will take and, therefore, the longer it will take to render your view. Figure 11.75 shows the
results of this second rendering.
c11.indd 464 5/3/2014 11:07:33 AM