Page 175 - Photoshop for Lightroom Users – Scott Kelby 2nd Edition
P. 175
Step Four:
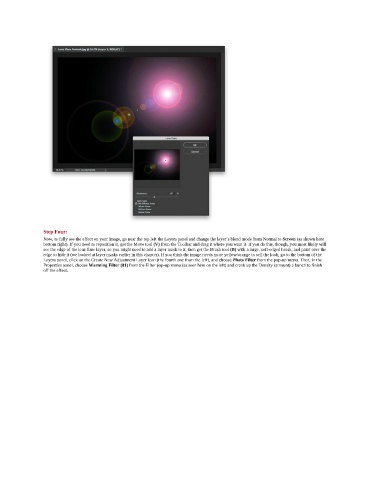
               Now, to fully see the effect on your image, go near the top left the Layers panel and change the layer’s blend mode from Normal to Screen (as shown here
               bottom right). If you need to reposition it, get the Move tool (V) from the Toolbar and drag it where you want it. If you do this, though, you most likely will
               see the edge of the lens flare layer, so you might need to add a layer mask to it, then get the Brush tool (B) with a large, soft-edged brush, and paint over the
               edge to hide it (we looked at layer masks earlier in this chapter). If you think the image needs more yellow/orange to sell the look, go to the bottom of the
               Layers panel, click on the Create New Adjustment Layer icon (the fourth one from the left), and choose Photo Filter from the pop-up menu. Then, in the
               Properties panel, choose Warming Filter (81) from the Filter pop-up menu (as seen here on the left) and crank up the Density (amount) a bunch to finish
               off the effect.

