
Page 196 - Photoshop for Lightroom Users – Scott Kelby 2nd Edition
P. 196
Hard Light here, so you can see how this one looks—it applies some serious sharpening. Try changing the blend mode to Overlay, then Soft Light, so you
can see the differences in sharpening amounts. Also, if the sharpening with any of these seems too intense, you can lower the amount by lowering the
duplicate layer’s Opacity near the top right of the Layers panel. Or, just try changing the blend mode to Overlay (which makes the sharpening less intense)
or Soft Light (even more so).
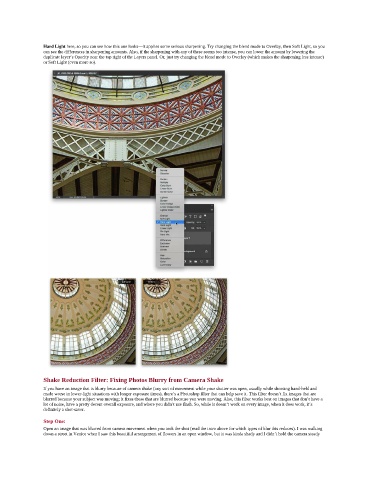
Shake Reduction Filter: Fixing Photos Blurry from Camera Shake
If you have an image that is blurry because of camera shake (any sort of movement while your shutter was open, usually while shooting hand-held and
made worse in lower-light situations with longer exposure times), there’s a Photoshop filter that can help save it. This filter doesn’t fix images that are
blurred because your subject was moving; it fixes those that are blurred because you were moving. Also, this filter works best on images that don’t have a
lot of noise, have a pretty decent overall exposure, and where you didn’t use flash. So, while it doesn’t work on every image, when it does work, it’s
definitely a shot-saver.
Step One:
Open an image that was blurred from camera movement when you took the shot (read the intro above for which types of blur this reduces). I was walking
down a street in Venice when I saw this beautiful arrangement of flowers in an open window, but it was kinda shady and I didn’t hold the camera steady