
Page 199 - Photoshop for Lightroom Users – Scott Kelby 2nd Edition
P. 199
without over-sharpening the rest of the image). The best thing about this technique is that it uses some of the most sophisticated sharpening in all of
Photoshop, and the über-math for this kind of sharpening is found in Photoshop’s Sharpen tool.
Step One:
Open the image you want to add creative sharpening to in Photoshop (here, we’re sharpening a shot of the back of a custom chopper), and then get the
Sharpen tool from the Toolbar (seen circled here in red—its icon looks like a tall triangle).
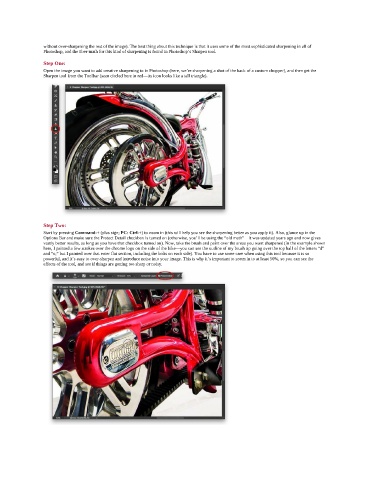
Step Two:
Start by pressing Command-+ (plus sign; PC: Ctrl-+) to zoom in (this will help you see the sharpening better as you apply it). Also, glance up in the
Options Bar and make sure the Protect Detail checkbox is turned on (otherwise, you’ll be using the “old math”—it was updated years ago and now gives
vastly better results, as long as you have that checkbox turned on). Now, take the brush and paint over the areas you want sharpened (in the example shown
here, I painted a few strokes over the chrome logo on the side of the bike—you can see the outline of my brush tip going over the top half of the letters “d”
and “o,” but I painted over that enter flat section, including the bolts on each side). You have to use some care when using this tool because it is so
powerful, and it’s easy to over-sharpen and introduce noise into your image. This is why it’s important to zoom in to at least 50%, so you can see the
effects of the tool, and see if things are getting too sharp or noisy.