
Page 198 - Photoshop for Lightroom Users – Scott Kelby 2nd Edition
P. 198
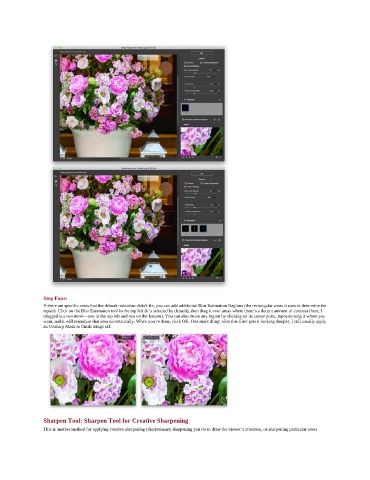
Step Four:
               If there are specific areas that the default reduction didn’t fix, you can add additional Blur Estimation Regions (the rectangular areas it uses to determine the
               repair). Click on the Blur Estimation tool in the top left (it’s selected by default), then drag it over areas where there’s a decent amount of contrast (here, I
               dragged out two more—one in the top left and one on the lantern). You can also move any region by clicking on its center point, repositioning it where you
               want, and it will reanalyze that area automatically. When you’re done, click OK. One more thing: after this filter gets it looking sharper, I still usually apply
               an Unsharp Mask to finish things off.


               Sharpen Tool: Sharpen Tool for Creative Sharpening
               This is another method for applying creative sharpening (discretionary sharpening you do to draw the viewer’s attention, or sharpening particular areas