Page 98 - Photoshop for Lightroom Users – Scott Kelby 2nd Edition
P. 98
Healing Brush & Patch Tools: Removing Blemishes
               Lightroom has a Spot Removal tool and it is well-named—it’s for removing spots. But, it’s not a serious retouching tool anywhere along the lines of
               Photoshop’s brilliant Healing Brush, Spot Healing Brush, and Patch tools—they are light years ahead of the pretty lame Spot Removal tool in Lightroom.
               But, the only way you’ll truly appreciate how much ridiculously better these tools are is to use them a few times, and then you’ll totally “get” why and
               you’ll know why it’s worth jumping over to Photoshop to use them (by the way, they are for way more than just retouching, as you’ll see in Chapter 8).
               Step One:
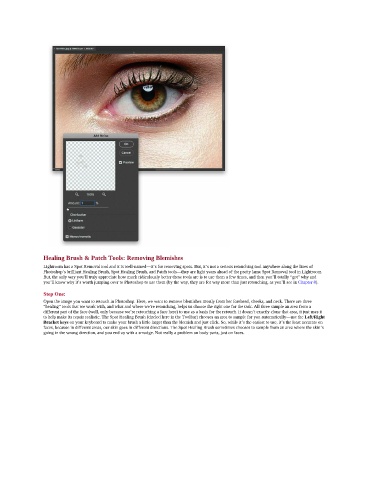
               Open the image you want to retouch in Photoshop. Here, we want to remove blemishes mostly from her forehead, cheeks, and neck. There are three
               “healing” tools that we work with, and what and where we’re retouching, helps us choose the right one for the task. All three sample an area from a
               different part of the face (well, only because we’re retouching a face here) to use as a basis for the retouch. It doesn’t exactly clone that area, it just uses it
               to help make its repair realistic. The Spot Healing Brush (circled here in the Toolbar) chooses an area to sample for you automatically—use the Left/Right
               Bracket keys on your keyboard to make your brush a little larger than the blemish and just click. So, while it’s the easiest to use, it’s the least accurate on
               faces, because in different areas, our skin goes in different directions. The Spot Healing Brush sometimes chooses to sample from an area where the skin’s
               going in the wrong direction, and you end up with a smudge. Not really a problem on body parts, just on faces.

