
Page 704 - Divyank Tyagi
P. 704
670 | ChapteR 15 Creating StairS and railingS
4. Select both new sketch segments you drew in step 3, and from the Options bar, set the
Slope option to Flat. Now, this step may not be necessary because the railing sketch
should be aware that the floor below is flat, but this is the best way to ensure consistent
results with manually sketched railing paths.
5. Click the green check mark in the contextual ribbon to finish the sketch, and activate the
Default 3D view to observe your results (Figure 15.68).
Figure 15.68
The existing railing
has been extended
onto the landing.
Creating a Custom Railing
Now that we’ve reviewed the major components of stairs and railings, let’s create a rail.
The rail we’re going to make is a stainless steel cable railing with flat steel stock posts.
Our completed railing will look like Figure 15.69. You can adapt the workflow we’re going to
complete to create just about any typical railing.
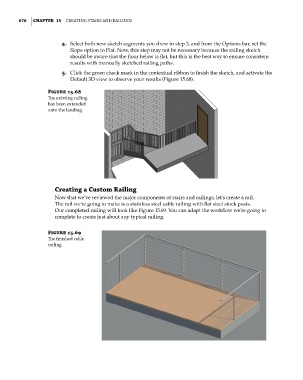
Figure 15.69
The finished cable
railing
c15.indd 670 5/3/2014 11:31:46 AM