
Page 702 - Divyank Tyagi
P. 702
668 | ChapteR 15 Creating StairS and railingS
When you use the Place On Host option of the Railing tool, be aware that you will not be
able to click on stairs that already have railings. You will not be prompted with a warning or an
error—you simply can’t select the host object. If you do find a stair or ramp on which you would
like to place a railing, also be aware that one railing type will be applied to both sides of the host
object. If you want a different railing for the outside of a stair element, you can use the Place On
Host tool and change one of the rails with the Type Selector later. If you are using the Stair or
Ramp tool, you can choose the option to automatically place railings when the stair or ramp is
created. When either of these tools is activated, you will find the Railing button in the contextual
tab in the ribbon (Figure 15.65).
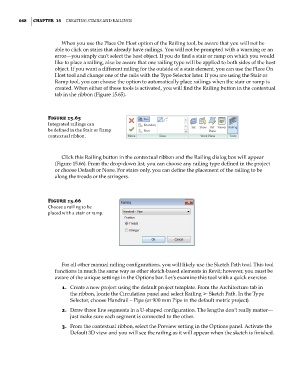
Figure 15.65
integrated railings can
be defined in the Stair or ramp
contextual ribbon.
Click this Railing button in the contextual ribbon and the Railing dialog box will appear
(Figure 15.66). From the drop-down list, you can choose any railing type defined in the project
or choose Default or None. For stairs only, you can define the placement of the railing to be
along the treads or the stringers.
Figure 15.66
Choose a railing to be
placed with a stair or ramp.
For all other manual railing configurations, you will likely use the Sketch Path tool. This tool
functions in much the same way as other sketch-based elements in Revit; however, you must be
aware of the unique settings in the Options bar. Let’s examine this tool with a quick exercise:
1. Create a new project using the default project template. From the Architecture tab in
the ribbon, locate the Circulation panel and select Railing ➢ Sketch Path. In the Type
Selector, choose Handrail – Pipe (or 900 mm Pipe in the default metric project).
2. Draw three line segments in a U-shaped configuration. The lengths don’t really matter—
just make sure each segment is connected to the other.
3. From the contextual ribbon, select the Preview setting in the Options panel. Activate the
Default 3D view and you will see the railing as it will appear when the sketch is finished.
c15.indd 668 5/3/2014 11:31:45 AM