
Page 325 - Zoo Animal Learning and Training
P. 325
Chapter 16 Diagnostic Imaging and Endoscopy 309
located in the darkroom, each exam room, and even Set‐up for Ultrasonography
in the surgery and treatment rooms.
7. Clean cassettes monthly inside and out. The role of the assistant in ultrasonography is for equip-
ment set‐up, patient preparation, and restraint during
the procedure. The ultrasonograph, keyboard, monitor,
Diagnostic Ultrasonography and acoustic gel are usually kept on a rolling cart making
it portable and accessible anywhere in the clinic.
The use of ultrasonography is increasing as an indirect Positioning aids can also be stored on the cart. Plug the
imaging technique in veterinary medicine (Figure 16.7). ultrasound in, turn it on, and place it near the examina-
The advantages over radiography are the lack of radia- tion table.
tion and that the equipment is portable. Ultrasound pro- The patient is usually to the operator’s right with the
vides indirect images of organ shape and structure. The cart facing the operator. If the operator is left‐handed,
principle is based on sound waves. The sound waves are reverse the arrangement. This allows the operator to
produced by a transducer. As the waves hit tissues within hold the transducer in the dominant hand and operate
a patient they are “echoed” back to the transducer. The the controls with the other.
higher the intensity of the returning echo, the brighter Prepare the patient by consulting anatomic charts to
(whiter) the image on the screen. It is used for diagnosis learn where to clip a patient for the ultrasound; this will
of uterine, ovarian, bladder, heart and kidney diseases, also tell you how to hold the patient for the procedure.
confirmation of pregnancy, guided cystocentesis, and The quality of the image is affected by patient prepara-
tissue biopsies. tion. Image quality is decreased by anything that traps
air. This can be hair, dirt, or skin scales, which makes
skin preparation so important. The study area over
which the transducer is placed is clipped with a No. 40
blade to remove the hair completely. The area is gently
washed with a surgical soap, rinsed with water, and dried
thoroughly. To enhance transducer contact with the
skin, a liberal amount of acoustic gel is applied to the skin
and allowed to stay in place for 5 minutes before the
procedure.
Assist with patient restraint during the procedure.
For most studies patients do not need to be anesthe-
tized. After the procedure clean the gel off of the
patient with a warm soapy cloth and towel dry. Return
the patient to its housing or owner if waiting. Clean the
transducer according to the manufacturer’s directions
and straighten the cart, restock acoustic gel if necessary
and put away. File printouts of the images in the
patient’s record, or if the images are recorded on disk
or videotape label in a manner similar to the patient’s
medical record and store with other patient disks or
videotapes.
Reflection
After seeing how images appear on screen during
an ultrasound, what did you think of the image?
Was it clear? Could you make out the structures?
How long will it take looking at these types of
images before they become clear to you?
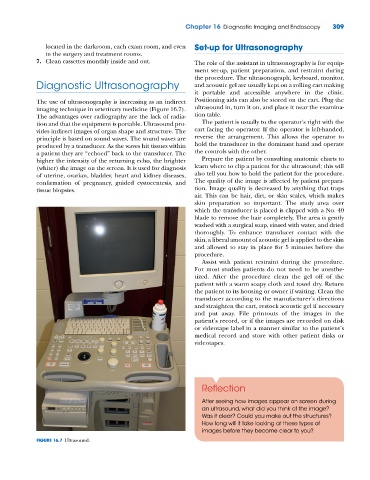
FIGURE 16.7 Ultrasound.