Page 525 - Divyank Tyagi
P. 525
|
                                                           using extended Modeling teChniques for BasiC Walls    491


                           Modifying Wall Sweep Returns
                           In the previous exercises, you learned how to include sweeps and reveals in the assembly of a
                           wall type; however, you can also apply a sweep to a wall if it’s needed only in a limited location.
                           For example, you might need to create a chair rail molding in one special room. To accomplish
                           this, go to the Architecture tab in the ribbon and click Wall and then Wall Sweep. You can
                           place a sweep on a wall vertically or horizontally by changing the placement option in the
                           ribbon while the Wall Sweep tool is active. Select a wall sweep type from the Properties palette,
                           and pick the wall faces to which you’d like to apply the sweep. If necessary, the sweep can be
                           adjusted vertically in an elevation or section view.


                             Moving Wall Sweeps between Projects

                             although profile families from rfa files can be used in wall sweep type properties, a wall sweep is
                             a system family that exists only in a revit project. new sweep types can be created only by using
                             the transfer Project standards tool or by duplicating existing types within your active project.
                             and keep in mind that once wall sweeps are added to your project, they can be scheduled like any
                             other project component.


                             We have created a sample chair rail sweep on the interior face of the walls in the c12-Wall-
                           Articulation.rvt exercise file. In the default 3D view, orbit the model to view the interior
                           faces. Let’s take a look at how to customize the returns of a wall sweep:

                             1.  Select the sweep and it will display grips at each end. Zoom the view closer to the end of
                                the sweep that is aligned with the end of the wall segment.
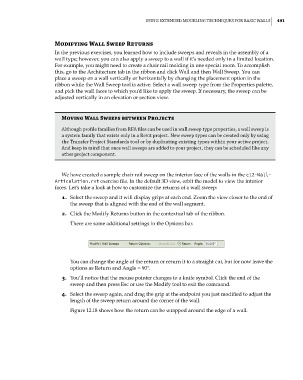
                             2.  Click the Modify Returns button in the contextual tab of the ribbon.
                                There are some additional settings in the Options bar.


                                You can change the angle of the return or return it to a straight cut, but for now leave the
                                options as Return and Angle = 90°.
                             3.  You’ll notice that the mouse pointer changes to a knife symbol. Click the end of the
                                sweep and then press Esc or use the Modify tool to exit the command.
                             4.  Select the sweep again, and drag the grip at the endpoint you just modified to adjust the
                                length of the sweep return around the corner of the wall.
                                Figure 12.18 shows how the return can be wrapped around the edge of a wall.


          c12.indd   491                                                                             5/3/2014   11:12:39 AM

