
Page 74 - FreesStyler® Installation and Startup
P. 74
®
INSTALLATION AND STARTUP
Chapter 4 Frame and Carriage Assembly
Optional Deluxe Boom
Routing the Airlines
7) At this point the main water line can be run as well as the reclaim water line and the RO water line if they were options selected
in the wash. Run each line thru the center of the boom in the area where the rubber grommets are located. The main water line
should run on to the bottom barb hose fitting, the RO should run to the center barb hose fitting, and the reclaim water line
should be ran to the top barb hose fitting. They should be hooked into the bulkhead on the machine in the same order. Note
that there are 3 sections of hose needed per run this is to create a replaceable area in the center where the majority of wear
can occur.
Installing the Wheel Cleaner Accessory Kit
Finally, if a HydroBlade and/or a Wheel Stinger option have been purchased, it will be necessary
to install the Wheel Cleaner Accessory Kit. Three bushings should go on each boom arm. The
PVC Snap Clamp limits how far the hose can slide back and forth on the high pressure. It should
be tightened onto the hose at a distance of 10 inches from the second slide bushing between the
first (the one by bearing) and second bushing and finally adjusted as test vehicles are ran to find
the desired position.
For each application it is recommended to run hard copper pipes out to the wall in the area the
boom is mounted make sure the volume running thru the copper is greater or equal to the volume
of the high pressure line, this will reduce the pressure drop thru the line and improve the
performance of the equipment. The pipes should run to an area near the end of length for the
high pressure lines, this will prevent any extra length of hose and make sure the hoses do not
need to be trimmed and re-crimped. The following will show you how to do this.
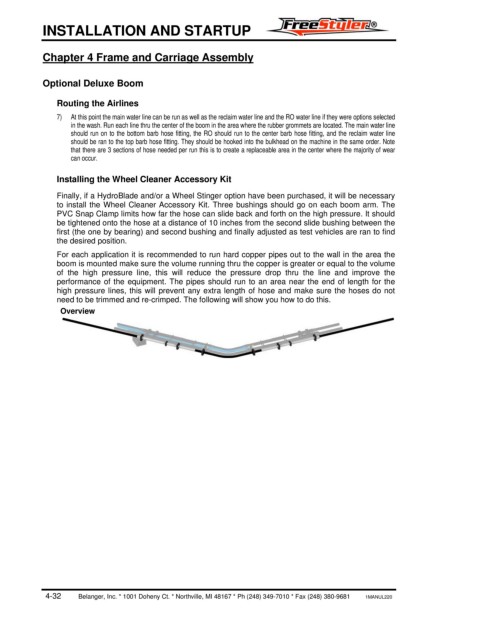
Overview
4-32 Belanger, Inc. * 1001 Doheny Ct. * Northville, MI 48167 * Ph (248) 349-7010 * Fax (248) 380-9681 1MANUL220